The Next Big Thing: Unboxing Microsoft's Latest Blazor Web App
Last updated 22 Days ago | 6 Min Read | 127 views
Blazor, Microsoft's full-stack web UI framework, has opened up exciting possibilities for developers by allowing them to build modern front-end applications using familiar technologies such as C#, HTML, CSS, and Razor. With the release of .NET 8, the introduction of the "Blazor Web App" has further expanded the toolkit, offering various render modes for enhanced flexibility. In this article, we'll delve into the Blazor Web App and explore its different render modes.
Getting Started with the Blazor Web App
To demonstrate the capabilities of the Blazor Web App, I've utilized Visual Studio 2022 to create a sample project. Here's a step-by-step guide:
- Open Visual Studio and choose to create a new project.
- Search for "Blazor" in the project templates and select the "Blazor Web App" template.
- Enter a project name and click “Next.”
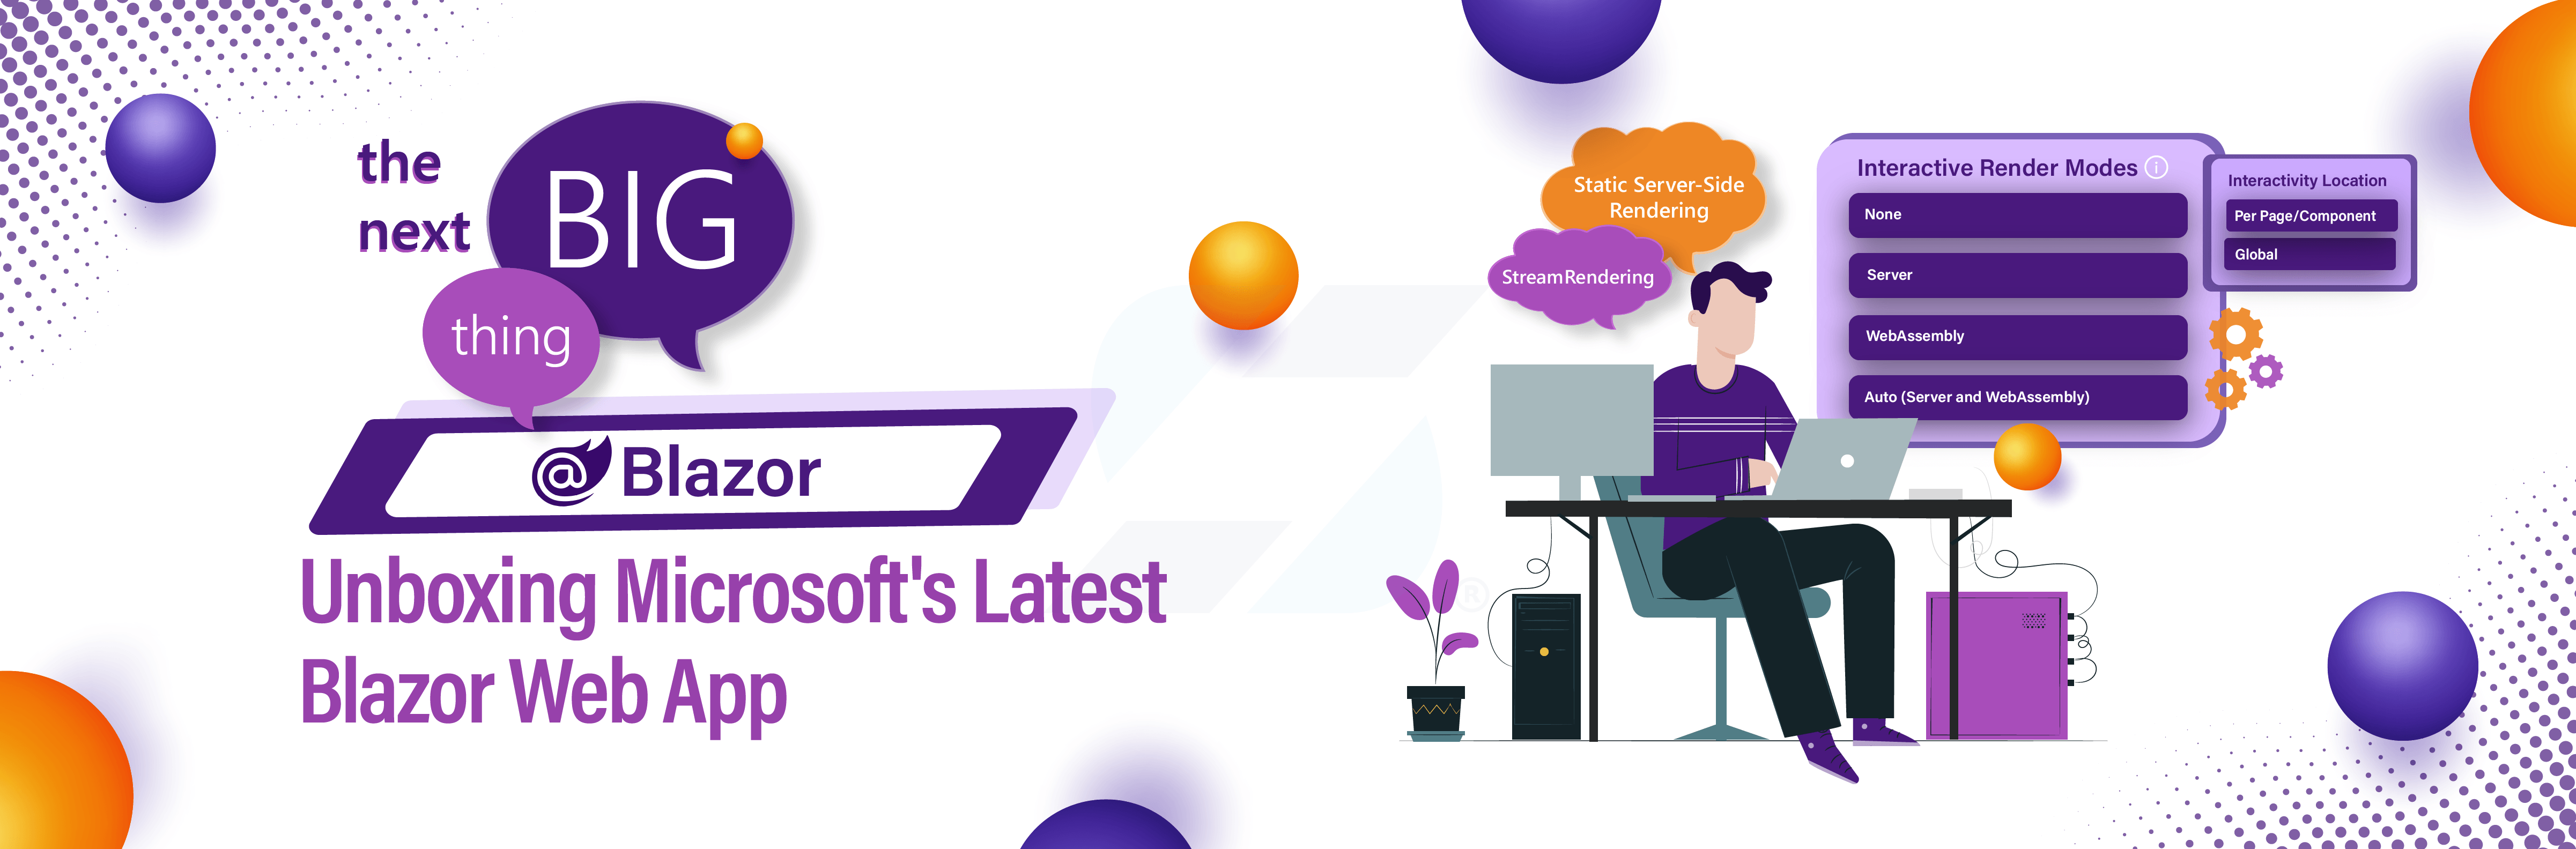
- On the Additional Information screen, find the "Interactive render mode" field. Here, you can choose from four options:
Static Server-Side Rendering (None): The "None" option represents static server-side rendering. In this mode, the component is displayed without user interaction. All interactions trigger HTTP requests to the server for processing.
Interactive Server-Side Rendering (Server): The "Server" option enables interactive server-side rendering. ASP.NET Core runtime dynamically generates HTML on the server, which is sent to the client over a WebSocket connection with SignalR. This allows real-time UI updates and user event processing on the server.
Interactive Client-Side Rendering (WebAssembly): The "WebAssembly" option generates interactive components directly on the client. The Blazor WebAssembly runtime handles the final HTML markup generation on the client side, eliminating the need for server-to-client transmission of UI-related HTML.
Auto Rendering (Server and WebAssembly): The "Auto" option combines both server-side and client-side rendering. Initially, it uses server-side rendering for faster app startup. After downloading the Blazor bundle and activating WebAssembly runtime on the client, subsequent rendering and interactivity are handled by the .NET WebAssembly runtime.
- Depending on your preference, select an interactive render mode.
- Choose the interactivity location configuration: "Per page/component" or "Global".
With these selections, the project is set up to include both server-side and WebAssembly interaction.
Interactivity Location
Blazor Web App provides two options to configure interactivity location:
- Per Page/Component
Description: Sets the rendering configuration to be defined on a per-page or per-component basis.
Use Case: Allows fine-grained control over rendering configurations for individual pages or components.
Configuration: Specified in the individual component or page.
- Global
Description: Sets a global rendering configuration for the entire app.
Use Case: Useful when a consistent rendering configuration is desired across the entire application.
Configuration: Typically set at the application level.
Let’s take a practical example: We selected Auto (Server and WebAssembly) and Per page/component:

As we're choosing "Auto (Server and WebAssembly)" in the Interactive render mode.
This solution creates two projects and some pages:
- BlazorWebApp: This is your server project, handling all the requests and running on the server.
- BlazorWebApp.Client: This is your client project, running on the user's browser using WebAssembly (WASM).

Alternative Choices: If you select "Server" in the Interactive render mode, you'll have a single project. On the other hand, if you choose "WebAssembly" , you will also have two projects.
Now, let's peek into the Program.cs file of the server project where the magic happens:

- AddInteractiveServerComponents: Adds support for rendering interactive components on the server side (Interactive Server components).
- AddInteractiveWebAssemblyComponents: And here, we're adding support to render interactive components on the client side - Interactive WebAssembly components.
Next up, we're setting our Blazor components to be routable endpoints:

- MapRazorComponents: This line tells the app to discover available components and points to the root component, typically the App component.
- AddInteractiveServerRenderMode: Configuration for interactive server-side rendering (interactive SSR).
- AddInteractiveWebAssemblyRenderMode: Configuration for Interactive WebAssembly render mode.
- AddAdditionalAssemblies: It explores and discovers routable components in additional assemblies.
It's essential to note that in a Web App project with the Auto interactive render mode, interaction with both Server and WebAssembly is possible. However, in Server-side or Client-side-only apps, references to the other rendering options are not supported.
Render Modes in Practice
Render modes in the Blazor Web App dictate how components are rendered and interact with users. There are three primary render modes, each serving a specific purpose:
- InteractiveServer: Renders interactively on the server via Blazor Server hosting with server-side prerendering.
Suitable for scenarios where initial server-side rendering is preferred. - InteractiveWebAssembly: Renders interactively on the client via Blazor WebAssembly hosting with server-side prerendering.
Ideal for achieving client-side interactivity without relying heavily on server resources. - InteractiveAuto: Dynamically determines how to render the component at runtime. Initially renders with an interactive server-side rendering for faster startup. Downloads the WebAssembly runtime on the first load for subsequent client-side rendering.
All components using automatic render mode must be built from a separate client project that sets up the Blazor WebAssembly host. Render modes propagate down the component hierarchy, and once set, you cannot switch to a different interactive render mode in a child component. For example, a Server component cannot be a child of a WebAssembly component.
Render Mode StreamRendering — Weather Component
Let's explore the StreamRendering attribute with a practical example using the Weather component. In this scenario, the component contains a table with weather forecast data:

The StreamRendering attribute enables rendering of the page even before loading the data. This results in the initial HTML being rendered promptly. Subsequently, data updates are streamed to the client when available. For instance, during the initial access, you might see the initial HTML, and after a few seconds, the data updates are incorporated.

After loading, it will show the following data:

Render Mode Auto — Counter Component
Now, let's explore the InteractiveAuto render mode with the Counter component. This is a simple component containing a button to increment a counter:

Upon running the app and accessing the Counter component, you may observe a significant number of files being downloaded during the first access. These files include the .NET runtime and necessary components for client-side WebAssembly.
However, on subsequent visits to the Counter component, these files will not be downloaded again. This behavior is due to the initial download of the .NET runtime and required files during the first access, which are then cached on the client side for future use.
Conclusion
Blazor Web App introduces a powerful paradigm where components can be rendered on both the server and client sides. This hybrid approach optimizes the initial page load, rendering on the server while concurrently downloading client-side runtime files. As a developer, this flexibility empowers you to choose the rendering mode that best suits your application's needs, offering a delightful user experience. Explore the render modes, experiment with different configurations, and unlock the full potential of the Blazor Web App in your web development journey.